How to Add and Use Customer Tags
Effective audience segmentation can dramatically improve the results of your marketing campaigns, and customer tags are a powerful tool for achieving this.
This article will guide you through adding customer tags to choices, using customer tags to segment your audience, and improving your marketing strategies.
By adding customer tags into your quizzes, you can automatically send quiz results to your mailing list or CRM, enabling precise segmentation based on customer responses.
Why Use Customer Tags?
Understanding the value of each member of your audience is crucial. While accumulating a large following on social media or a lengthy email list may seem beneficial, its true value comes into question if you know nothing about the individuals that make up those numbers.
The Importance of Segmentation
- FACT 1: Campaigns that are highly segmented can yield more than three times the revenue per recipient compared to unsegmented campaigns.
- FACT 2: Ideally, your business should earn at least $1 per month for each subscriber. If this isn't the case, it indicates that your email list isn't segmented sufficiently.
Segmentation allows for more personalized marketing strategies. By segmenting your audience based on specific criteria like specific customer tags, you can target them more effectively with tailored content and offers.
By adding customer tags into your quizzes, you can automatically send quiz results to your mailing list or CRM, enabling precise segmentation based on customer responses.
How to Add Customer Tags to Your Quiz
- Navigate to the Quiz Builder: Open your quiz in the Quiz Builder by clicking
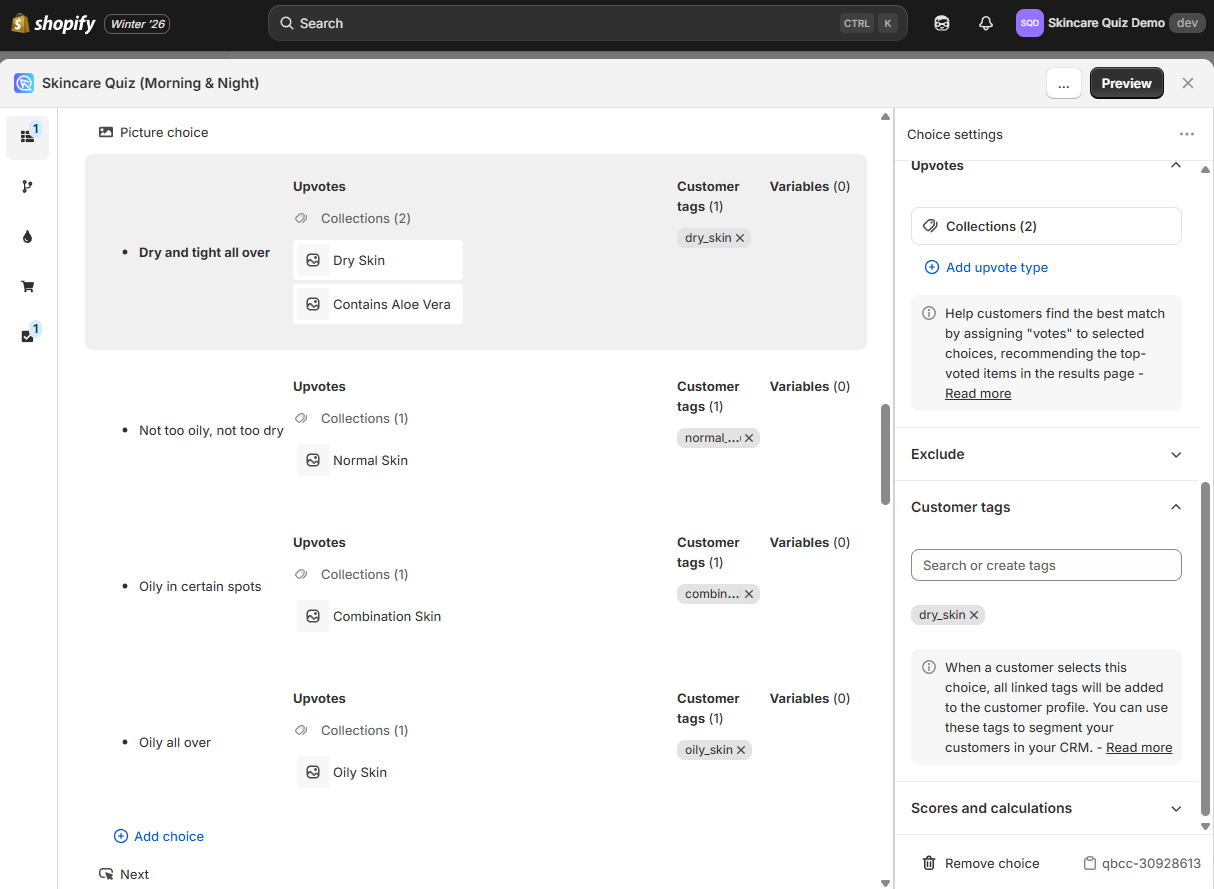
Customize. - Access choice settings: Open the Choice Settings by clicking on any choice in your quiz.
-
Add customer tags: In the choice settings, find the
Customer Tagssection.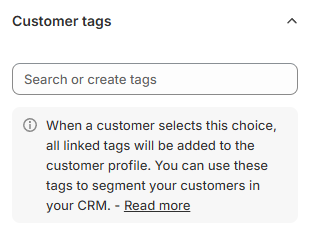
- Use the search bar to search for existing tags or create new ones.
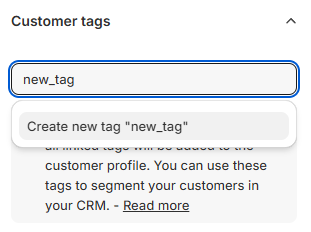
- Type the tag name and press
Create new tagto create it. - You can add multiple tags to a single choice.

Tip
If you want all the quiz takers to have a specific tag, you can add it to the all the choices in one of the questions in the quiz. This way no matter which choice they select, they will have the tag.
-
Save changes: Click the "Save" button to apply your changes. Tags will be automatically applied to customers when they select the corresponding choice.
-
Preview the quiz: Preview the quiz to verify that the tags have been added correctly to the quiz responses.
Note
Tags sent to responses will also be forwarded to any connected integrations.
For example, if integrated with Shopify Customers List, customer tags will be sent to customer profiles in Shopify. If quiz is integrated with Klaviyo, customer tags will be sent to Klaviyo, etc.
- Open the Customer Tags tab: Access the Quiz Builder and navigate to the
Customer Tagssection. - Create new tags: To create a tag, start typing the name of the tag next to a choice and confirm with
enter. Once a tag is created, it can be used to be linked to other choices.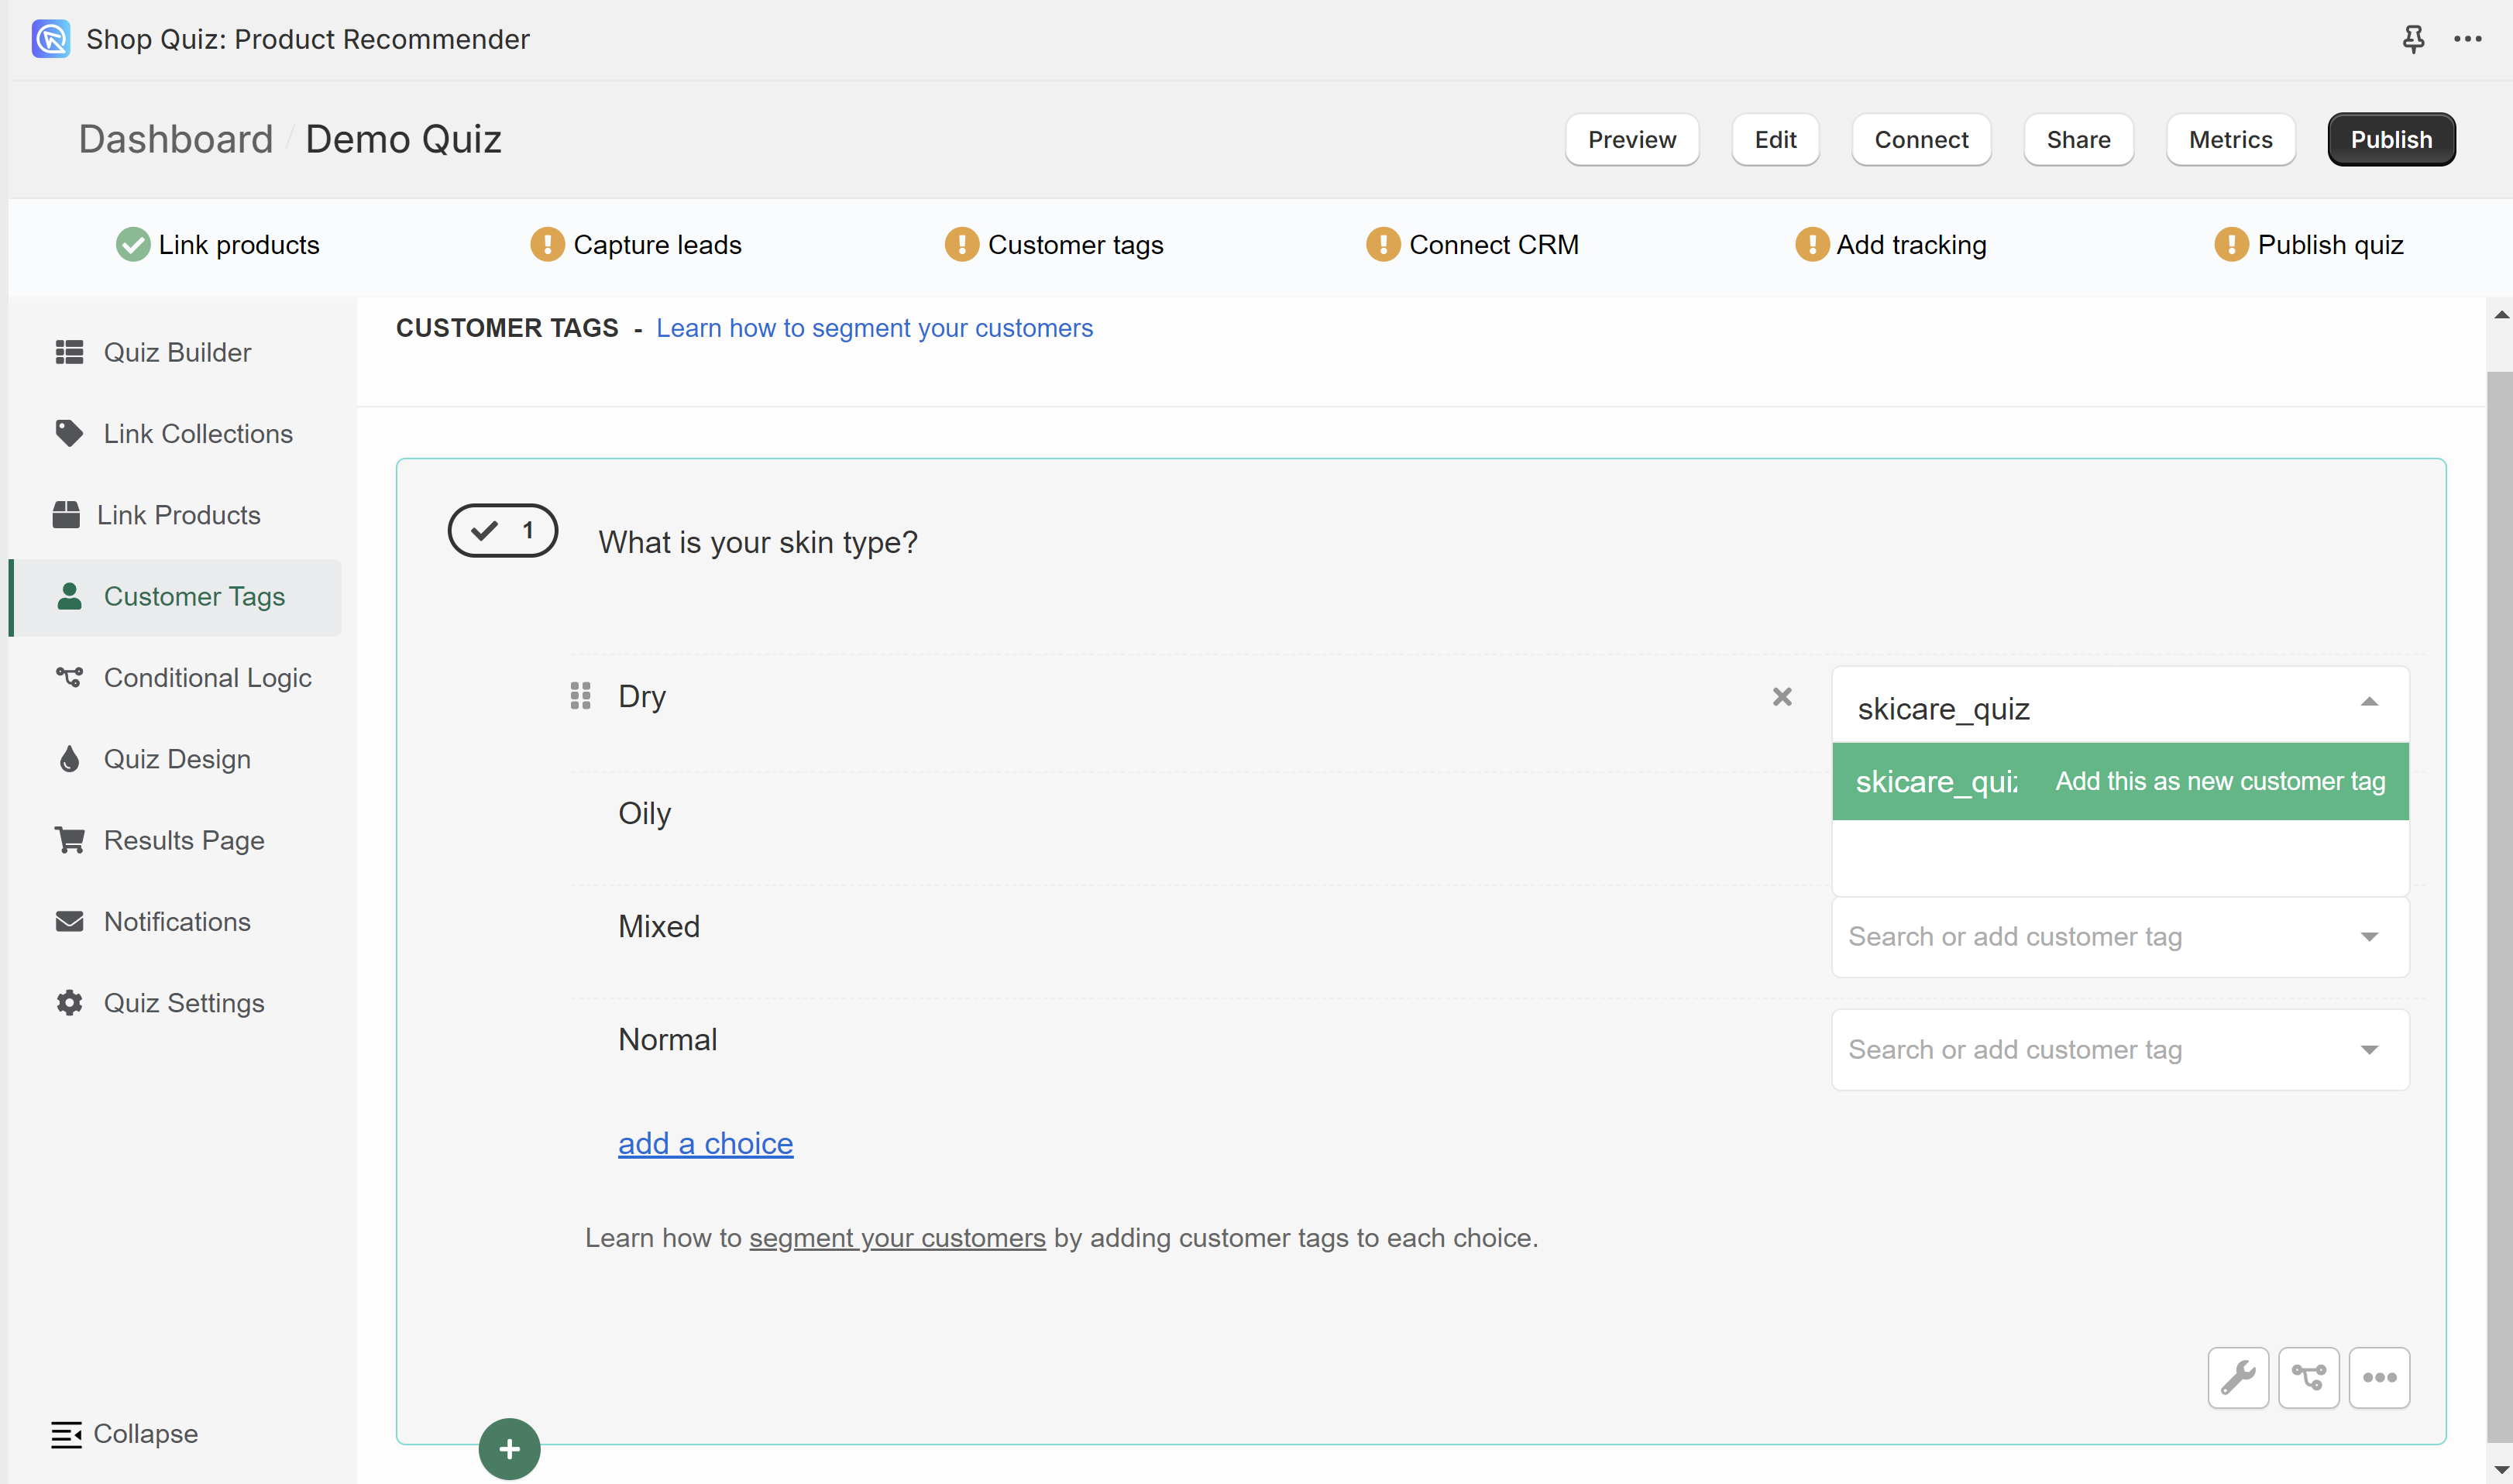
- Link tags to choices: Create new tags or use the existing ones to link them to choices in the quiz. When a customer selects a choice, all associated tags will be added to their profile.
- Publish the changes: Click the top-right
Publishbutton to publish the changes and update the preview/live quiz.
- Open the Customer Tags tab: Access the Quiz Builder and navigate to the
Customer Tagssection. - Create new tags: To create a tag, start typing the name of the tag next to a choice and confirm with
enter. Once a tag is created, it can be used to be linked to other choices. - Link tags to choices: Create new tags or use the existing ones to link them to choices in the quiz. When a customer selects a choice, all associated tags will be added to their profile.
- Publish the changes: Click the top-right
Publishbutton to publish the changes and update the preview/live quiz.
How to Send Customer Tags to CRMs
-
Connecting Your Quiz: Within the Quiz Settings, find the
Integrationstab. This section allows you to link your quiz with several third-party services, including Klaviyo, Omnisend, and Shopify Customers List. Integration with additional services is possible via Webhooks. -
Integration: After choosing a service to connect, simply follow the provided instructions. This setup ensures that every time someone takes your quiz, their contact details, responses, customer tags and product recommendations are directly sent to your selected mailing list or CRM.
-
Using Segmented Data: In your selected CRM, you can now create segments based on the customer tags and send them targeted emails based on the quiz results.
-
Connecting Your Quiz: Within the Quiz Settings, find the
Integrationstab. This section allows you to link your quiz with several third-party services, including Klaviyo, HubSpot, Omnisend, and Shopify Customers List. Integration with additional services is possible via Zapier or Webhooks. -
Integration: After choosing a service to connect, simply follow the provided instructions. This setup ensures that every time someone takes your quiz, their contact details, responses, customer tags and product recommendations are directly sent to your selected mailing list or CRM.
-
Using Segmented Data: In your selected CRM, you can now create segments based on the customer tags and send them targeted emails based on the quiz results.
Creating Segments in Your CRM
Once integrated, your CRM or mailing list will contain detailed segmented data on your customers. This enables you to create dynamic segments and direct hyper-targeted campaigns to different groups based on their quiz responses.
For example, users tagged with dry_skin can be targeted with a campaign promoting a specific moisurizing skincare product, while users tagged with oily_skin can be targeted with a campaign promoting a specific cleansing product.
Instructions on how to create segments will vary per CRM platform but in general the segment definition will be similar to the following:
Example of a segment definition
If the value of the custom property tags contains dry_skin then the customer should be included in the segment.
Any profile that has a tag will be included in the segment automatically.
Warning
In most integrations, tags are updated with every quiz retake. If you wish to preserve tags from each quiz attempt, contacting support is recommended for further assistance.
Once integrated, your CRM or mailing list will contain detailed segmented data on your customers. This enables you to create dynamic segments and direct hyper-targeted campaigns to different groups based on their quiz responses.
For example, users tagged with dry_skin can be targeted with a campaign promoting a specific moisurizing skincare product, while users tagged with oily_skin can be targeted with a campaign promoting a specific cleansing product.
Instructions on how to create segments will vary per CRM platform but in general the segment definition will be similar to the following:
Example of a segment definition
If the value of the custom property tags contains dry_skin then the customer should be included in the segment.
Any profile that has a tag will be included in the segment automatically.
Warning
In most integrations, tags are updated with every quiz retake. If you wish to preserve tags from each quiz attempt, contacting support is recommended for further assistance.
Using Segmented Data
Tip
Check out How to Use Customer Tags in Product Quizzes to Maximize Sales to learn more about how to use customer tags to segment your audience and send targeted emails to your customers.
Once you've set up specific segement in your CRM based on customer tags, you can use them to send targeted emails to your customers.
-
Create email flows/campaigns specifically tailored to each segment. When designing tailored email campaigns, it’s all about crafting messages that really speak to each customer segment’s unique needs and preferences.
-
Start by digging into the data from your customer tags to understand what makes each group tick. Create content that addresses their specific interests and personalize your subject lines and email bodies to make them feel valued. Plan your campaign schedule carefully to keep people engaged without overwhelming them, and use automation to send timely, relevant emails based on their behavior.
Example
- Curly Hair Segment: Send emails featuring products designed for curly hair, such as curl-enhancing shampoos and conditioners, and styling creams. Include tips for maintaining curly hair and exclusive offers on curl care bundles.
- Dry Hair Segment: Send emails promoting moisturizing shampoos, conditioners, and deep-conditioning treatments. Share tips on how to combat dry hair and offer discounts on hydrating product sets.
-
Use automation to send timely, relevant emails based on their behavior.
This article explains how to add customer tags to your quizzes and use them to segment your audience and send targeted emails to your customers.