How to Customize the Quiz Design
You can change the quiz's appearance to fit your store's style. This guide explains how to customize the quiz design with built-in app settings and question/choice settings, but also how to add custom CSS and JavaScript to your quiz to further customize the quiz design.
Quiz Design Options
- Use the customization options in the Quiz Design tab or built-in Question, Block or Results Page settings
- Add your own style with CSS or JavaScript
- Modify any part of the quiz or results page with custom CSS
- Include custom images and styles for each question via the question settings
- Add videos to the quiz or results page via the question settings
Quiz Design Tab
Basic Customizations
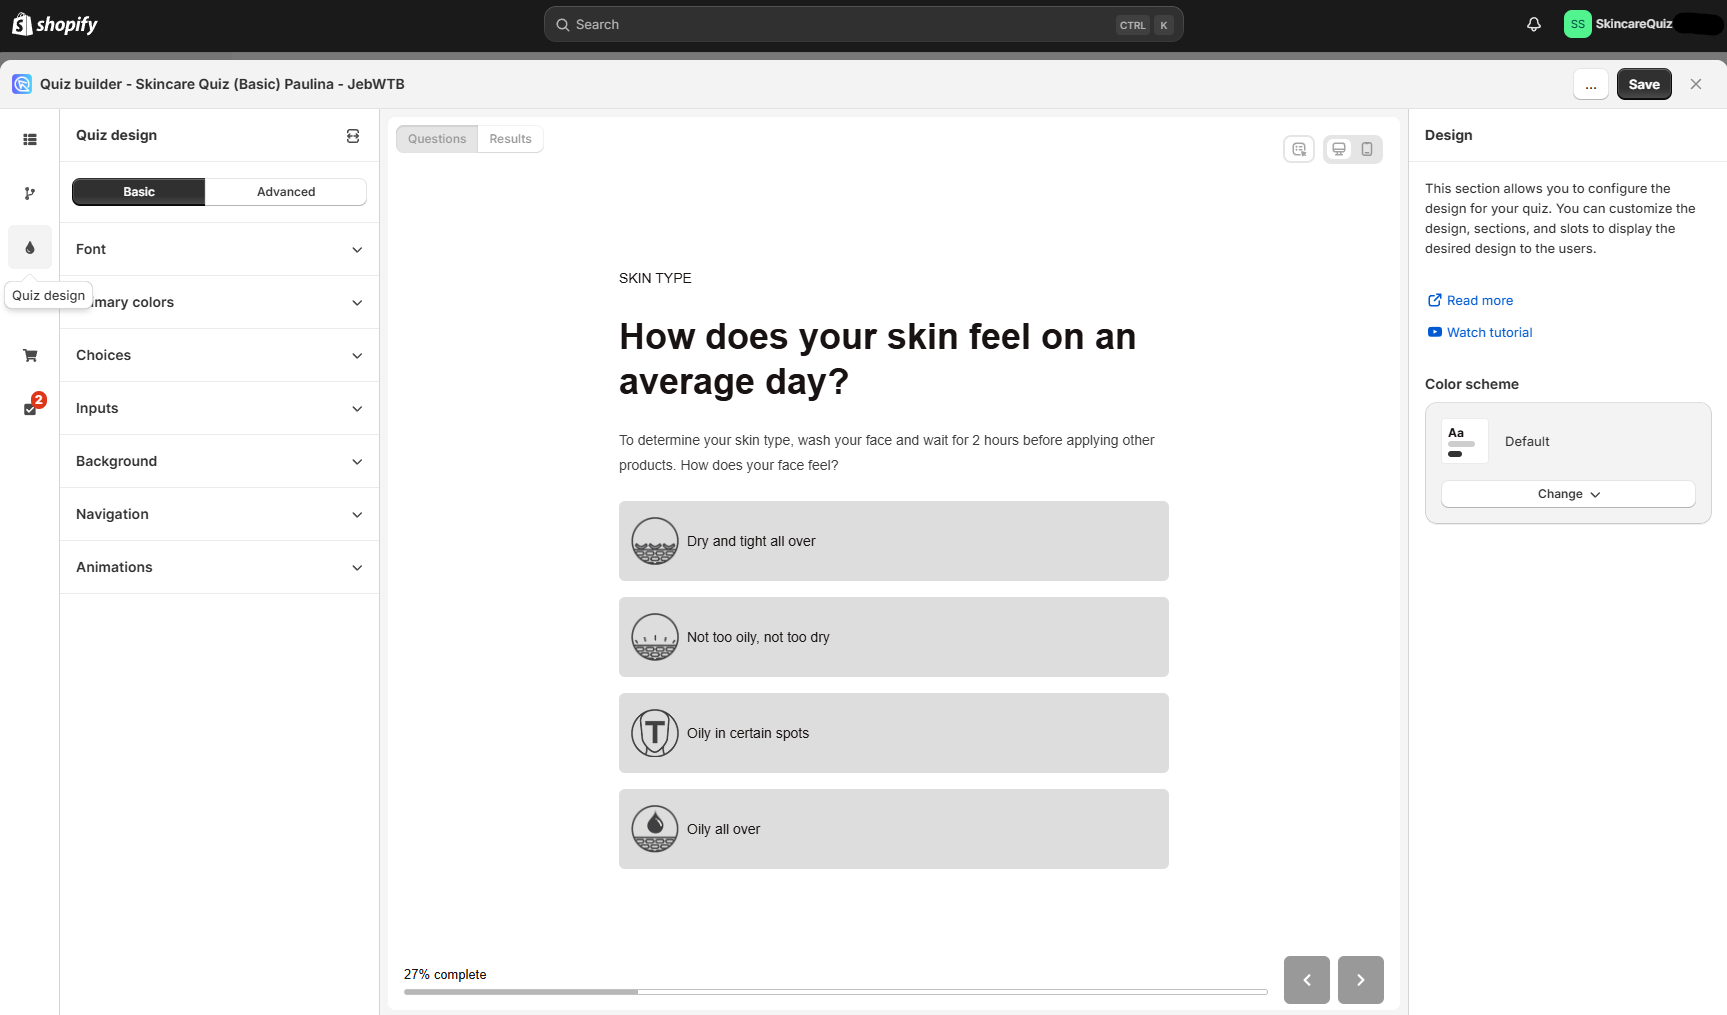
In the Quiz Design section of the quiz builder you can change how the quiz Questions or the Results Page look.
Switch between previews of the quiz questions and the results page to see your customizations in action as you edit.
Choose from a selection of predefined color schemes for your quiz or click Change to pick a new scheme.
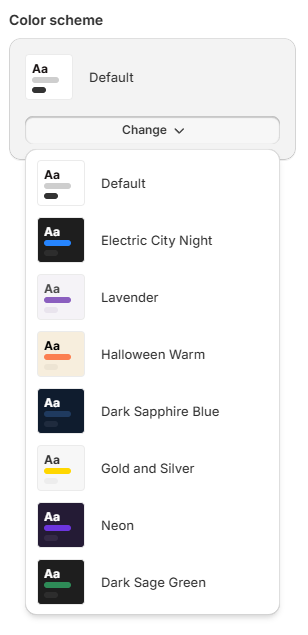
This allows you to set a tone that resonates with your brand’s identity.
The Quiz Design section is divided into two main customization categories: Basic and Advanced.
Basic - The basic menu of quiz design customization. Here you can edit the quiz colors, fonts, change the navigation options, add animations or a background image.
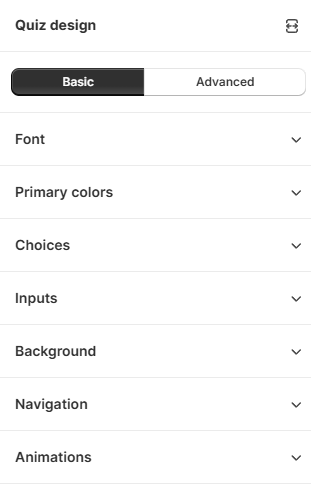
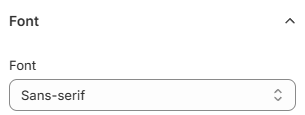
Typography - Pick a font for your quiz from the list.
Note
In the 💎Built for Shopify version of the RevenueHunt app, the font for the headings and body of the quiz is inherited from the store Shopify theme if the font is set to Inherit.
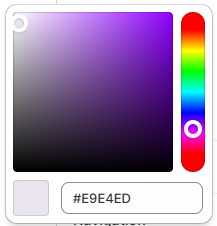
Primary Colors - Click on the color to change it.
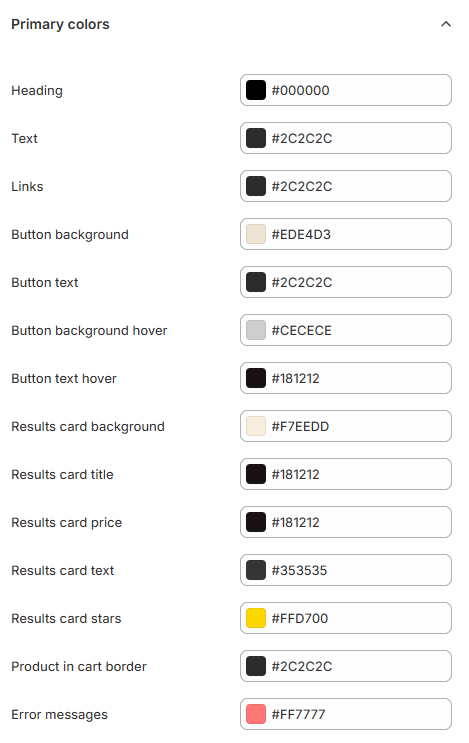
Select a color from the picker to change it.
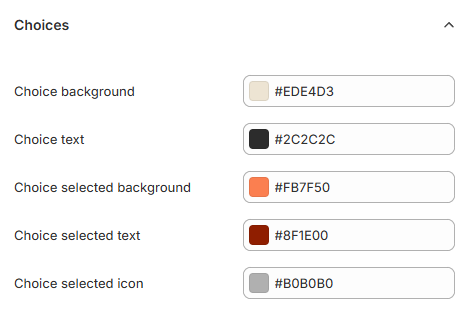
Choices - Click the color to change it.
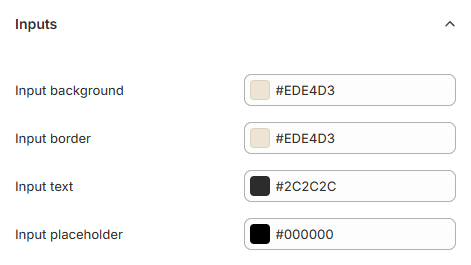
Inputs - Click the color to change it.
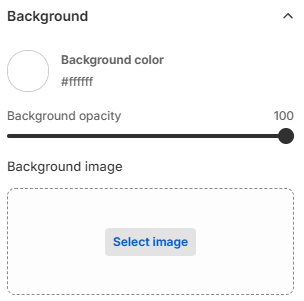
Background - Change the background color by clicking on the color. Adjust thje background opacity with the slider or upload a background image by clicking Select image.
Once the background image is uploaded, you can adjust the opacity with the slider.
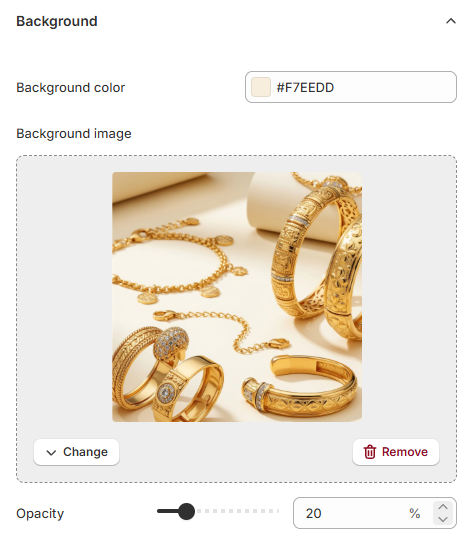
Change - Click to change the background image.
Remove - Click to remove the background image.
Opacity - Adjust the opacity of the background image.
Navigation - Change the colors of the Navigation bar background, text and border by cliking on the color.
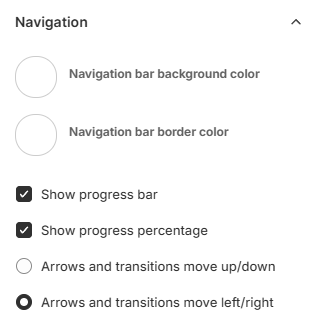
Show progress bar - Uncheck to hide the progress bar.
Show progress percentage - Uncheck to hide the % text from the progress bar.
Info
The texts of the navigation bar can be changed in quiz settings > content.
Transitions - Choose the transition effect for the quiz.
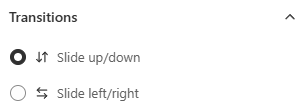
Slide up/down - Select this option to make the quiz slide up and down.
Slide left/right - Select this option to make the quiz slide left and right.
- Open Quiz Design tab: Open your quiz and navigate to the Quiz Design tab. In the Quiz Design section of the quiz builder you can change how the quiz Questions or the Results Page look.
- Customize the look: You can choose from any of our pre-designed themes in the
My Themestab or create your own. -
Edit Theme: Our theme editor allows you to pick one of our multiple color palettes, choose from multiple fonts and add a default background image to your quiz.
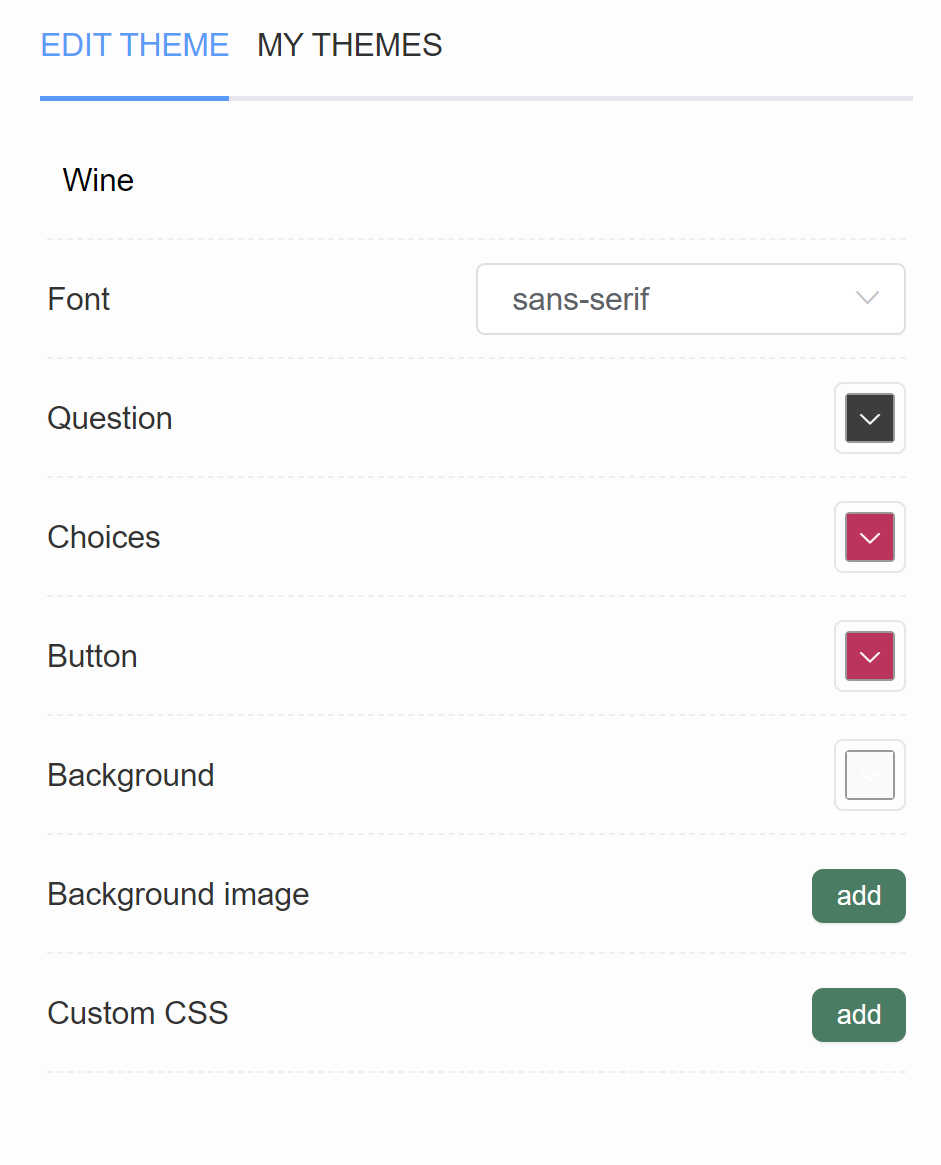
- Wine - Displays the name of your current theme.
- Font - Shows a dropdown of available fonts. Pick a font from the list to change it.
- Question - Opens a color menu that allows you to change the color of quiz questions. You can add a custom color by pasting the #number of the color (for example, #ecb3b3)
- Choices - Opens a color menu that allows you to change the color of quiz choices. You can add a custom color by pasting the #number of the color (for example, #ecb3b3)
- Button - Opens a color menu that allows you to change the color of quiz buttons (next, star quiz, add to cart, etc.). You can add a custom color by pasting the #number of the color (for example, #ecb3b3)
- Background - Opens a color menu that allows you to change the color of the quiz background. You can add a custom color by pasting the #number of the color (for example, #ecb3b3).
- Background image - Click "Add" to upload a background image. Image should be max 1000px x 1000px and 2MB. An extra menu appears once activated.
- Background Opacity - A slider that allows you to adjust the opacity of the uploaded background image.
- Custom CSS - Opens a CSS console, where you can add any custom styling rules. Any element of the quiz or the results page can be customized via CSS. To find a selector for the element, inspect it in your browser by right-clicking.
-
My Themes: All themes that you’ve created or edited will appear in the
My Themestab.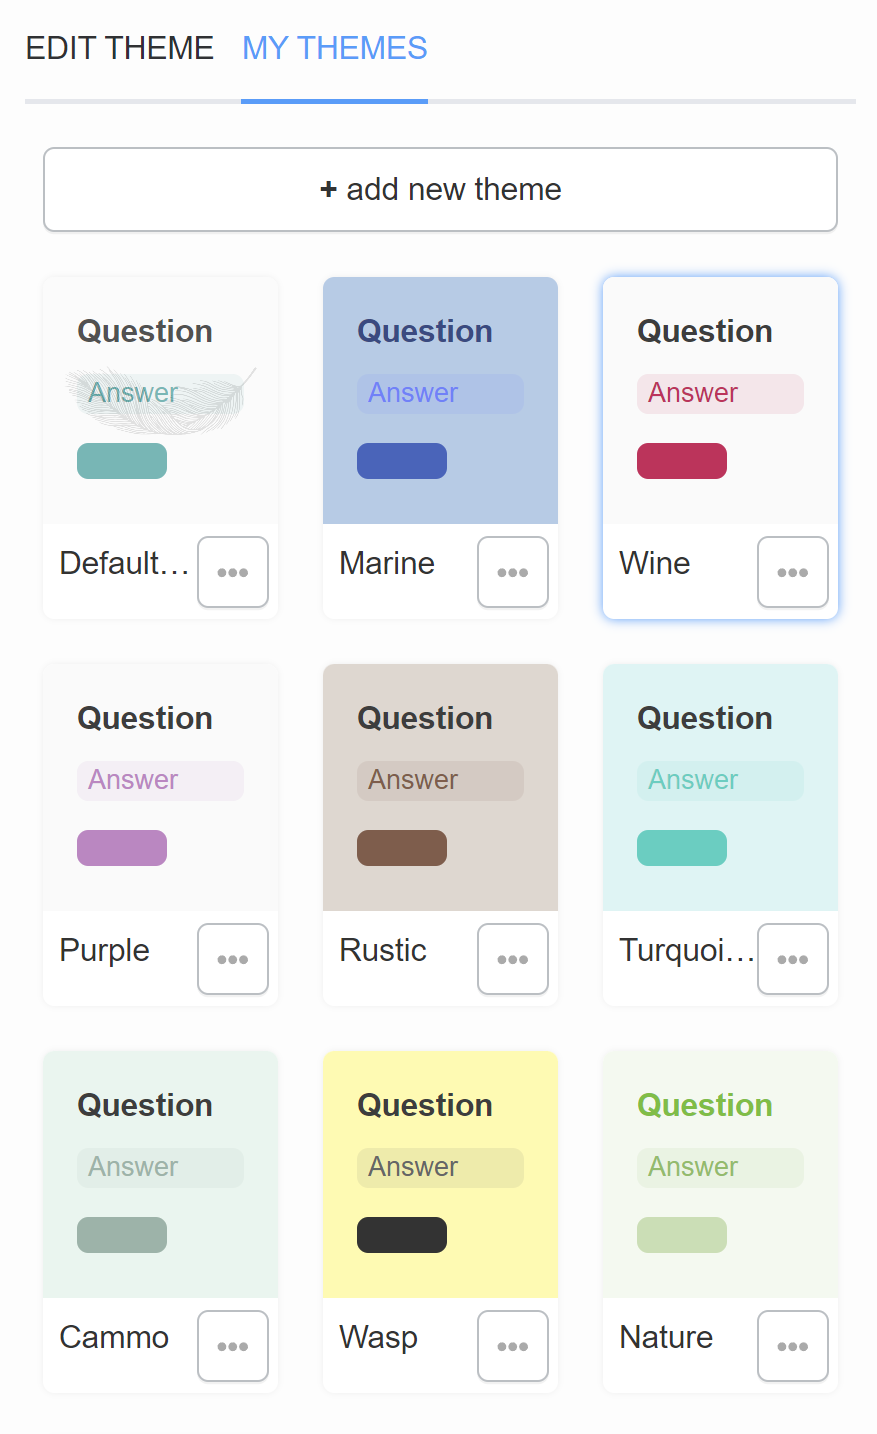
-
Publish the changes: Click the top-right
Publishbutton to apply the changes to the preview/live quiz.
- Open Quiz Design tab: Open your quiz and navigate to the Quiz Design tab. In the Quiz Design section of the quiz builder you can change how the quiz Questions or the Results Page look.
- Customize the look: You can choose from any of our pre-designed themes in the
My Themestab or create your own. -
Edit Theme: Our theme editor allows you to pick one of our multiple color palettes, choose from multiple fonts and add a default background image to your quiz.
- Wine - Displays the name of your current theme.
- Font - Shows a dropdown of available fonts. Pick a font from the list to change it.
- Question - Opens a color menu that allows you to change the color of quiz questions. You can add a custom color by pasting the #number of the color (for example, #ecb3b3)
- Choices - Opens a color menu that allows you to change the color of quiz choices. You can add a custom color by pasting the #number of the color (for example, #ecb3b3)
- Button - Opens a color menu that allows you to change the color of quiz buttons (next, star quiz, add to cart, etc.). You can add a custom color by pasting the #number of the color (for example, #ecb3b3)
- Background - Opens a color menu that allows you to change the color of the quiz background. You can add a custom color by pasting the #number of the color (for example, #ecb3b3).
- Background image - Click "Add" to upload a background image. Image should be max 1000px x 1000px and 2MB. An extra menu appears once activated.
- Background Opacity - A slider that allows you to adjust the opacity of the uploaded background image.
- Custom CSS - Opens a CSS console, where you can add any custom styling rules. Any element of the quiz or the results page can be customized via CSS. To find a selector for the element, inspect it in your browser by right-clicking.
-
My Themes: All themes that you’ve created or edited will appear in the
My Themestab. -
Publish the changes: Click the top-right
Publishbutton to apply the changes to the preview/live quiz.
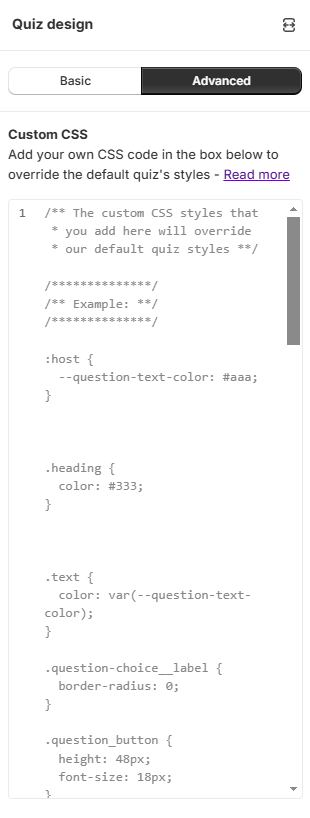
Advanced Customizations (CSS)
For those with coding knowledge, the Advanced customization panel within the Quiz Design offers the flexibility to input custom CSS, allowing you to override the default styles. This option provides maximum control over every detail of your quiz’s appearance.
Get help with custom CSS
Click ✨Get help with custom CSS to open a chat window with the Quiz Copilot AI. It can directly make design changes with CSS code!
Once you've made your changes, click the Save button at the top right to apply them to your live or preview quiz.
To add custom CSS code to a speciifc quiz section only, go to Question Settings.
To add custom CSS code to a specific results page only, go to Results Page Settings.
Tips for using CSS
-
Check the App CSS Structure: For a detailed overview of the CSS structure of the app and CSS examples, see the App CSS Structure reference.
-
Find an Element Selector: To target a specific element in your quiz, right-click on it in your browser and select
Inspectto view the element’s selector. -
Add Specificity to CSS Rules: Use specific selectors to apply styles only to particular parts of your quiz.
Example: Add Specificity to CSS Rules
This rule will change the color of all paragraphs in the quiz to red.To style a paragraph in only one specific question, use the question's unique ID:
In this case, the color of the paragraph will change to red only for the question with IDAbC7Zde. You can find a question’s ID inQuiz Builder > Question Settings.
Example: Upload a Google Font with CSS
- Find a Google Font: To upload a custom Google Font to the quiz, first navigate to the font’s page. For example: Quicksand.
- Copy Font code: Then, select the styles you want to be applied and copy the import font URL and font family CSS rules.
-
Write CSS code: To add a Google font to the quiz elements (h1-h6, p) use this sample code:
Example: Google Font Code
-
Paste the code in Quiz Design > CSS console: Navigate to the Quiz Design > Custom CSS section of the app and paste the code into the custom CSS field on top of the stylesheet.
- Publish the changes: Click the top-right
Publish / Savebutton to apply the changes to the preview/live quiz.
Via the CSS console, you can add any custom styling rules. Any element of the quiz or the results page can be customized via CSS.
- Open the Quiz Design tab: Open your quiz and navigate to the Quiz Design tab.
- Open the CSS console: In the theme editor, click on the
addbutton in the Custom CSS section. This should open an input where you can add your custom CSS to the quiz. Your developer will be able to add custom CSS which will override the default styles of the quiz. - Find an element selector: To find a selector for the element, inspect it in your browser by right-clicking.
-
Add specificity to your CSS rules: You can add specificity to your CSS rules, so that they are applied only to the quiz or a certain question. For example:
will change the color of all the paragraphs in the quiz to red.
will change the color of a paragraph to red ONLY for question
AbC7Zde, whereAbC7Zdeis the question ID. You can find a specific question ID in Quiz Builder > Question setttings. -
Publish the changes: Click the top-right
Publishbutton to apply the changes to the preview/live quiz.
Upload a Google Font with CSS
- Find a Google Font: To upload a custom Google Font to the quiz, first navigate to the font’s page. For example: Quicksand.
- Copy Font code: Then, select the styles you want to be applied and copy the import font URL and font family CSS rules.
-
Write CSS code: To add a Google font to the quiz elements (h1-h6, p) use this sample code:
Example: Google Font Code
-
Paste the code in Quiz Design > CSS console: Navigate to the Quiz Design > Custom CSS section of the app and paste the code into the custom CSS field on top of the stylesheet.
- Publish the changes: Click the top-right
Publish / Savebutton to apply the changes to the preview/live quiz.
Via the CSS console, you can add any custom styling rules. Any element of the quiz or the results page can be customized via CSS.
- Open the Quiz Design tab: Open your quiz and navigate to the Quiz Design tab.
- Open the CSS console: In the theme editor, click on the
addbutton in the Custom CSS section. This should open an input where you can add your custom CSS to the quiz. Your developer will be able to add custom CSS which will override the default styles of the quiz. - Find an element selector: To find a selector for the element, inspect it in your browser by right-clicking.
-
Add specificity to your CSS rules: You can add specificity to your CSS rules, so that they are applied only to the quiz or a certain question. For example:
will change the color of all the paragraphs in the quiz to red.
will change the color of a paragraph to red ONLY for question
AbC7Zde, whereAbC7Zdeis the question ID. You can find a specific question ID in Quiz Builder > Question setttings. -
Publish the changes: Click the top-right
Publishbutton to apply the changes to the preview/live quiz.
Upload a Google Font with CSS code
- Find a Google Font: To upload a custom Google Font to the quiz, first navigate to the font’s page. For example: Quicksand.
- Copy Font code: Then, select the styles you want to be applied and copy the import font URL and font family CSS rules.
-
Write CSS code: To add a Google font to the quiz elements (h1-h6, p) use this sample code:
Example: Google Font Code
-
Paste the code in Quiz Design > CSS console: Navigate to the Quiz Design > Custom CSS section of the app and paste the code into the custom CSS field on top of the stylesheet.
- Publish the changes: Click the top-right
Publish / Savebutton to apply the changes to the preview/live quiz.
Advanced Customizations (JavaScript)
You can add custom JavaScirpt to the quiz results page and the quiz questions to make it even more customizable. We made it very easy for developers to tap into the quiz structure or response and get all the information they need: individual answers to questions, triggered tags and recommended products.
With custom JavaScript, you can:
- add custom behavior, images, texts or logic
- change quiz layout
- display custom product recommendations
- forward to any particular page on your store
- add tracking codes to specific questions (Google Analytics, Meta Pixel)
Check out the How to Add JavaScript to the Quiz guide for more details on how to add custom JavaScript to the quiz.
Styling Quiz Text
To personalize the text within each question, open the Block Settings for each content block.
Each block type — Heading, Text, or Button —has unique customization options that let you control the styling and positioning of text elements.
Heading Block
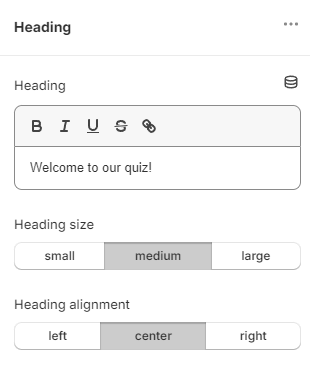
To add a heading to your question, select the Heading block. The Block Settings for the heading allow you to:
- Style Text: You can bold, italicize, underline, or strikethrough text within the heading, as well as insert links and pull content dynamically from other parts of the quiz.
- Size and Alignment: Adjust the heading size and choose from alignment options (left, center, or right) to fit your design needs.
Text Block
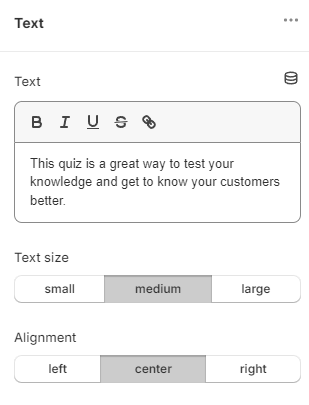
Use the Text block to add regular text content to your question. Within the Block Settings for text, you can:
- Format Text: Similar to the heading block, you can bold, italicize, underline, or strikethrough text, add links, and dynamically source content.
- Size and Alignment: Change the text size and alignment to suit the layout and readability of your quiz.
Button Block
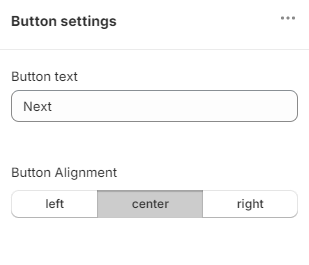
To include a button within your question, select the Button block. The Block Settings for buttons allow you to:
- Button Text: Customize the default text displayed on the button to reflect the action you want users to take.
- Button Alignment: Adjust the button's position (left, center, or right) for a balanced layout within the quiz.
By adjusting these settings, you can tailor the styling of each text element to enhance user experience and reinforce your brand’s design.
You can use Markdown Language for basic styling of text in the quiz.
What is Markdown Languge?
Markdown is a way to style text on the web. You control the display of the document; formatting words as bold or italic, adding images, and creating lists are just a few of the things we can do with Markdown. Mostly, Markdown is just regular text with a few non-alphabetic characters, like # or *.
If you need to include additional styling and elements in your questions, choices, and results page, you can do so using Markdown Language.
- Headings
- Text Styling
- Links
- Images
- Videos
If you want to change the font or the color of certain texts or whole paragraphs, you may need to use Custom CSS code for that.
Adding Images and Videos
Enhance your quiz with visual elements by using the Image and Picture Choice blocks. These options allow you to add standalone images or offer picture-based answer choices, making your quiz more engaging and visually appealing.
Tip
Check this guide to learn how to add and optimize your images for the quiz: How to Add/Adjust Images.
The article explain in details different ways you can add images to your quiz. Including:
- Quiz Background image - You can uplaod a background image for the whole quiz via the Quiz Design tab.
- Question Background/Split image - You can upload a background image to each question in the quiz via the question settings.
- Image Block - You can upload an individual image via an Image Block directly into one of the quiz questions or results page.
- Picture Choice - You can add a Picture Choice block to your question, which will allow you to add an image to each choice in that multiple choice question.
- Product Image - You can also add a Product/Variants/Collection Block to your quiz results page, which will allow you to display a product/variant/collection image in the results page.
Image Block
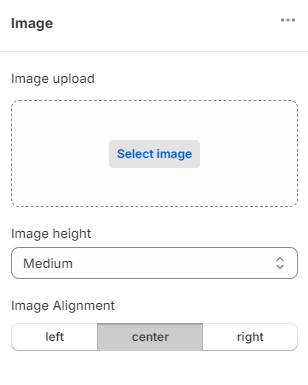
To add an image within a question, use the Image block. The Block Settings for images offer the following customization options:
- Upload or Select an Image: Click
Select imageto upload an image from your computer or choose from your in-app image gallery. Once uploaded, you can clickChangeto replace the image orRemoveto delete it. - Image Size: Adjust the image height using the
Image heightdropdown to scale the image as needed. - Alignment: Use
Image Alignmentto position the image to the left, center, or right within the block for optimal layout.
Video Block'
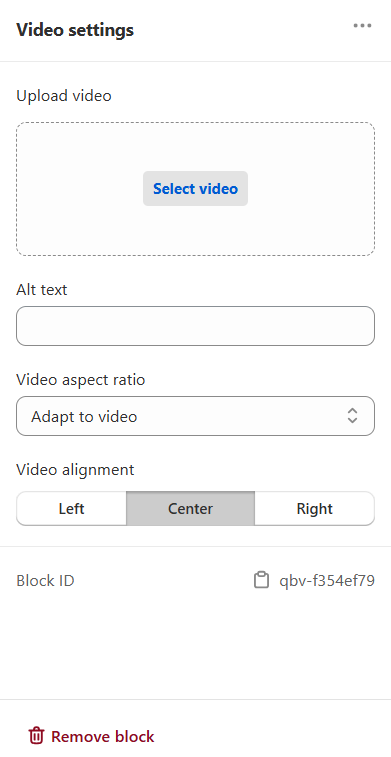
To add a video within a question, use the Video block. The Block Settings for videos offer the following customization options:
- Video aspect ratio: Select the aspect ratio of the video.
- Video alignment: Select the alignment of the video.
Picture Choice Block
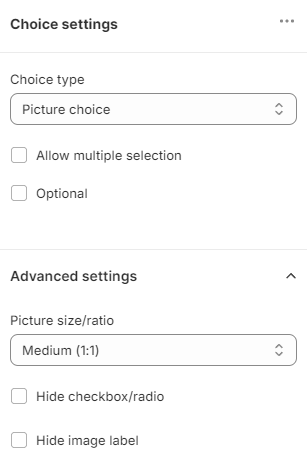
The Picture Choice block lets you offer visual choices for multiple-choice questions, enhancing interactivity. Block Settings for picture choices include:
- Picture Size/Ratio: Choose the size and aspect ratio of the images in this block, from Tiny icon (24px), Small icon (48px), Medium (1:1), or Large (4:3).
- Hide Checkbox/Radio: Hide the checkbox or radio selection indicator for picture choices.
- Hide Image Label: Hide the text label displayed under each picture choice for a cleaner design.
To upload an image to each choice, open the Choice Settings.
Adding a Background Image
You can add a background image to a specific question or to the entire quiz.
To add a background image to a specific question go to the Question Settings:
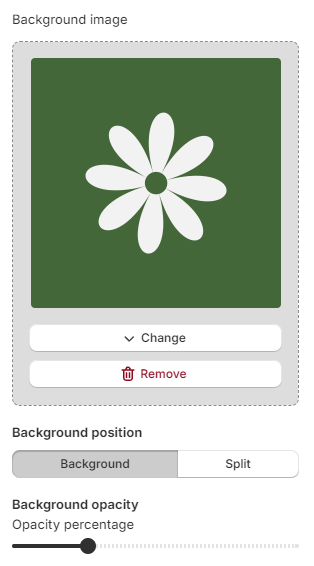
- Select a Background Image: Click
Select imagein the question management settings, then clickAdd imageto upload a background image from your computer. Alternatively, choose an existing image from your quiz gallery. Once uploaded, clickChangeto replace the image orRemoveto delete it. - Background Position: Set the image to cover the entire background or split the screen, displaying the image on one half and content on the other.
- Background Opacity: Adjust the opacity of the background image using the slider to control transparency and blend it with the quiz content.
To add a background image to the whole quiz open the Quiz Design tab.
These settings allow you to control how images appear and interact within your quiz, making it visually engaging.
You can add images to your quiz in serveral ways.
- Upload images/videos via question settings: You can add a unique image to every question through the Quiz Builder by accessing the question settings.
- Embed images/videos via Markdown Language: You can embed unique ijmages or videos into text blocks in your question description or the results page with Markdown language.
- Images:
- Videos
Tip
Check this guide to learn how to add and optimize your images for the quiz: How to Add/Adjust Images.
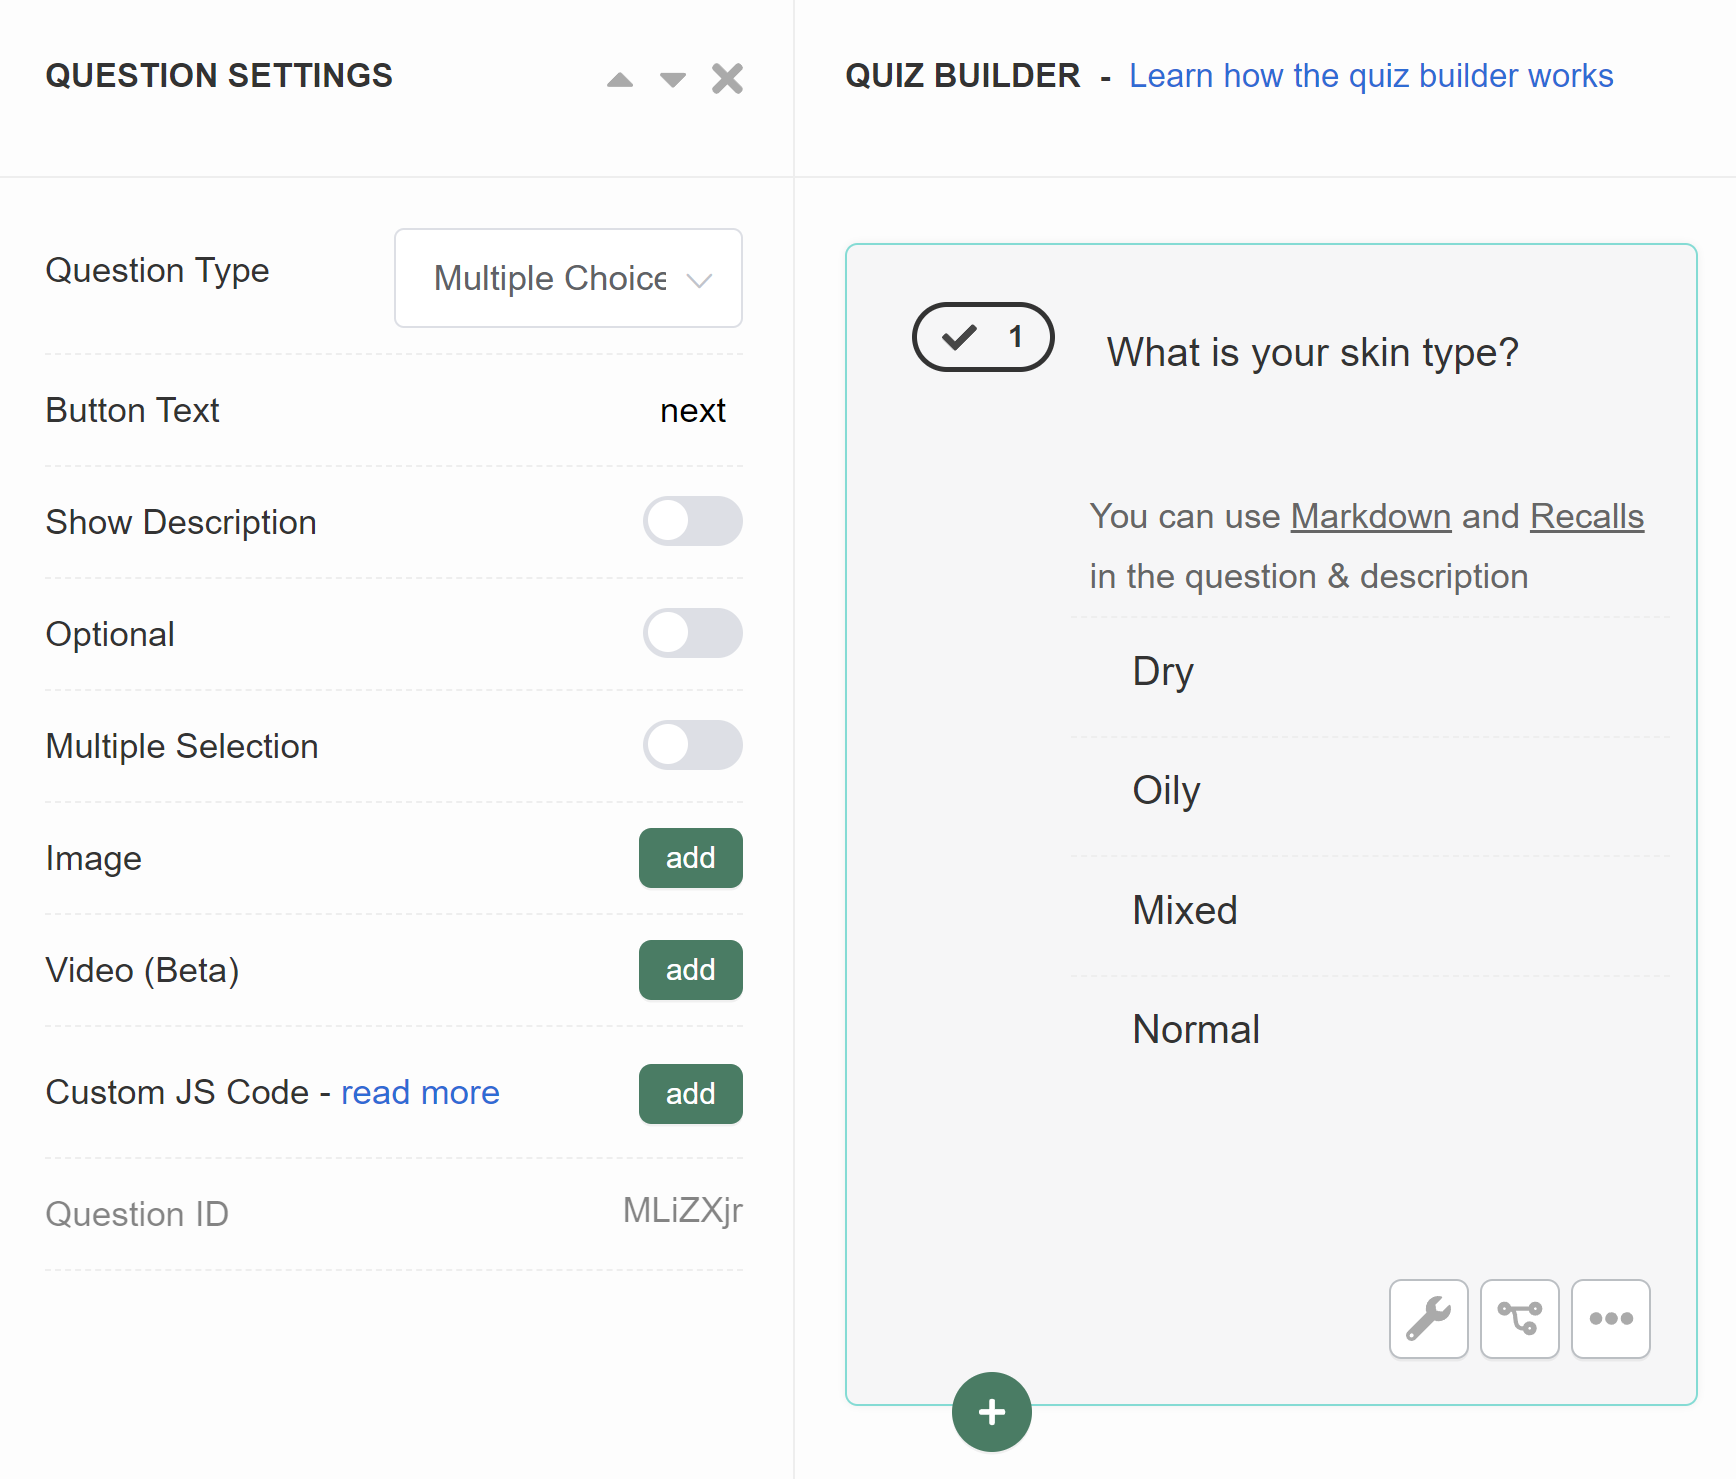
Individual Question Design
In addition to the overall Quiz Design options, you can add a unique image to every question through the Quiz Builder by accessing the question settings.
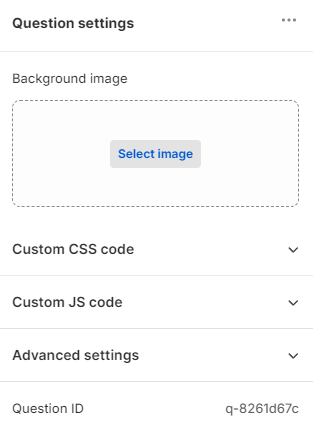
The question settings also allow you to incorporate unique custom CSS code and custom JavaScript into your question design.
In addition to the overall Quiz Design options, you can add a unique image to every question through the Quiz Builder by accessing the question settings.
The question settings also allow you to incorporate custom JavaScript into your quiz design.
In addition to the overall Quiz Design options, you can add a unique image to every question through the Quiz Builder by accessing the question settings.
The question settings also allow you to incorporate custom JavaScript into your quiz design.
In addition to the overall Quiz Design options, you can add a unique image to every question through the Quiz Builder by accessing the question settings.
The question settings also allow you to incorporate custom JavaScript into your quiz design.
In addition to the overall Quiz Design options, you can add a unique image to every question through the Quiz Builder by accessing the question settings.
The question settings also allow you to incorporate custom JavaScript into your quiz design.
In addition to the overall Quiz Design options, you can add a unique image to every question through the Quiz Builder by accessing the question settings.
The question settings also allow you to incorporate custom JavaScript into your quiz design.
Results Page Design
The Results Page also has its own customization options.
Tip
Check this article to learn more about styling your results page.
In addition to the basic elements, you can set a unique background image for each result page through the results page settings. You can also use these settings to apply custom JavaScript to your quiz design.
If you find the default results page too restrictive, you might want to create a custom results page on your site and direct all quiz data to it using the Callback Function. This function enables you to collect all quiz responses in JSON format on any page you choose.
Customization Examples
We offer complete flexibility to developers for personalizing both the quiz and the results page. Take a look at these examples to discover the various designs you can achieve with our app using some creativity and CSS code.
Useful CSS Codes
Get help with custom CSS
Click ✨Get help with custom CSS in Question settings or Results page settings to open a chat window with the Quiz Copilot AI. It can directly make design changes with CSS code!
App CSS Structure
For a detailed overview of the CSS structure of the app and CSS examples, see the App CSS Structure reference.
Here are a few popular CSS selectors and codes to style elements in the quiz:
Hide Progress Bar in the footer
Change the styles of the choices
Change the styles of the picture choices
Place the footer bar at the top, for more visibility
Make 'Back' and 'Next' arrows point left and right
Adding a custom font
Adding a custom font (you'll have to host the font in your server). If your fonts are hosted within your Shopify store, they' may appear as a "private" fonts or hosted within a site restricted for us. If you want to use that font it'd have to be hosted elsewhere, and that way you could implement them within the quiz. Alternatively, check Upload Google Font.
Hide the 'add all to cart' button
Hide the product variants
Change Picture Choices to Icons
/* Change Picture Choices to Icons */

.lq-images li, .widget .lq-images li{
max-width: none !important;
}

.lq-choices .lq-img, .widget .lq-choices .lq-img{
width: 48px !important;
height: 48px !important;
padding-top: 0 !important;
background-size: 48px !important;
background-position: left;
margin-top: 4px;
margin-right: 8px;
margin-bottom: 2px;
}

.lq-picture-choice .lq-letter{
display: none;
}

.lq-picture-choice li div{
width: calc(100% - 65px) !important;
margin-top: 12px;
}

@media (pointer: fine) {
.lq-picture-choice li:hover{
background-color: #333 !important;
}

.lq-picture-choice li:hover div{color: #fff !important;
}

.lq-picture-choice li:hover .lq-img{
content: "";
width: 100%;
height: 100%;
background-color:black;
filter: invert(100%);
-webkit-filter: invert(100%);
}
}

.lq-images li, .widget .lq-images li{
width: calc(100% - 8px) !important;
}

@media (min-width: 768px) {
.builder-container-preview .lq-images li, .widget .lq-images li{
width: calc(50% - 8px) !important;
}
}
Muliptle choice questions: change the selected options background
Change the color of the Retake Quiz text
Change the background of the Add to Cart button
This article explains how to customize the quiz design with built-in app settings and question/choice settings, but also how to add custom CSS and JavaScript to your quiz to further customize the quiz design.