Quiz Setup Checklist
A step-by-step guide to launching a quiz that actually converts.
Built from what actually works
This checklist is based on analysis of our most successful quizzes - over 900 quizzes, 1.29 million responses, and $63.8M in tracked revenue. Follow these steps and you'll be building on the same foundation that consistently achieves 10-25%+ conversion rates.
Step 1 - Plan Your Quiz
Before building anything, get clear on what the quiz is for and what it should recommend.
☐ Define the customer problem your quiz solves (e.g., find the right moisturizer, build a full skincare routine, pick the right supplement)
☐ Make a simple quiz map: list your questions and what products each answer should point to
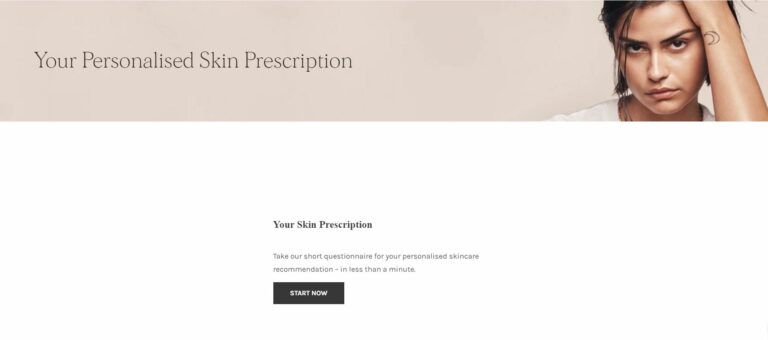
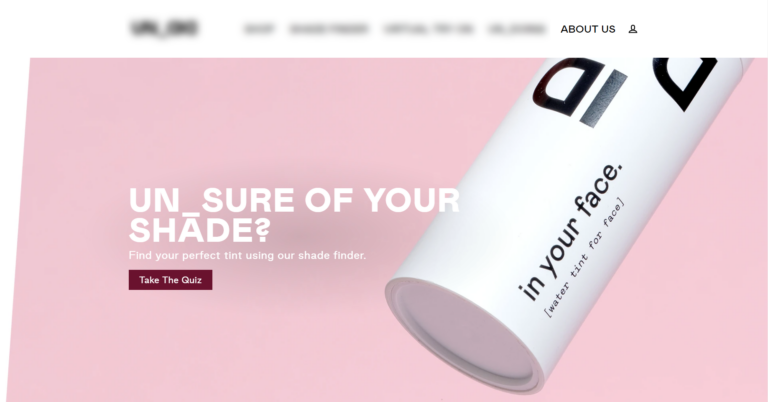
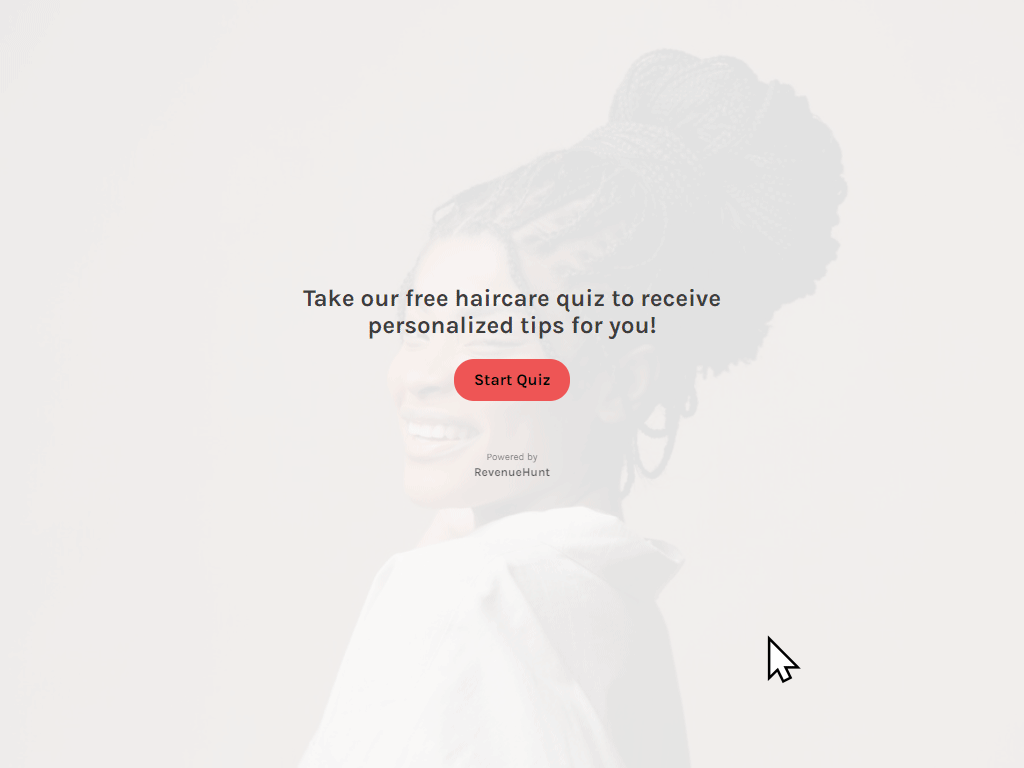
☐ Choose a professional name that sets clear expectations
What makes a good quiz name?
Avoid the word "quiz" if possible. Names like Shade Finder, Routine Builder, Skin Diagnostic, or Supplement Match feel like a professional consultation - not a BuzzFeed quiz. The highest-converting quizzes frame themselves as product finders.
Example: Professional Quiz Name
Step 2 - Build Your Questions
Questions are the heart of your quiz. Keep them short, clear, and answerable in under 5 seconds.
☐ Add a Welcome slide that sets expectations - tell customers what they'll get and how long it takes (e.g., "Answer 8 questions and get your personalized skincare routine")
☐ Aim for 7-8 questions as your starting point (the sweet spot is 6-12; start here and adjust based on data)
Keep it to 12 questions or fewer
Platform data shows completion rates drop significantly past 12 questions. Start with 7-8. Every question should change what gets recommended - if it doesn't, cut it.
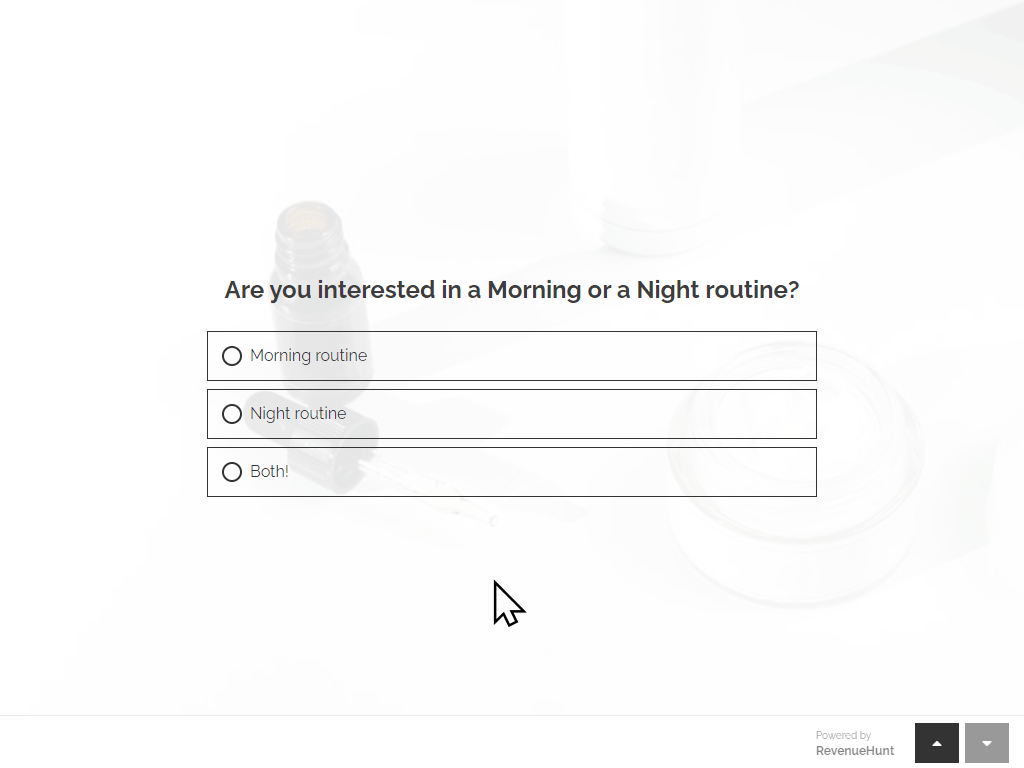
☐ Use 3-6 answer choices per question - fewer than 3 limits personalization, more than 6 causes decision fatigue
☐ Write answer choices that customers can select without overthinking - avoid jargon
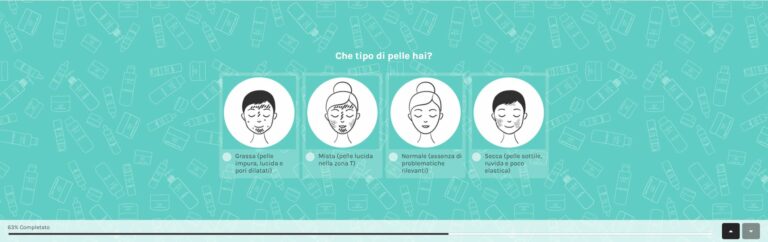
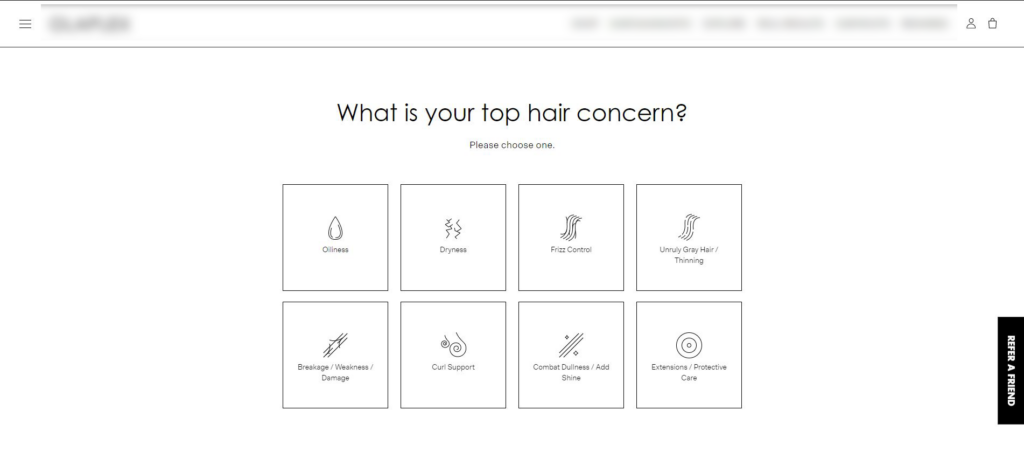
☐ Use picture questions where visuals genuinely help (skin tones, hair textures, product types) - but don't add images just to look engaging
How to add a Picture Question
Add a question by clicking + Add question or + Add block. Choose Picture Choice to show images alongside answer text.

Step 3 - Map Every Answer to a Product
This is the most important step and the one most often skipped. Every answer choice should influence which products get recommended. Unmapped answers produce weak, generic results - and weak results don't convert.
☐ Go through every question and every answer choice and map it to at least one product or collection
☐ Map to collections when a broad category applies (e.g., "dry skin" maps to your Hydrating Moisturizers collection)
☐ Map to specific products when an answer clearly points to one item
☐ Use exclusions to filter out products that are wrong for a given answer
Before you launch: the mapping check
Open your quiz and go through it as a customer would. After each answer, ask: does this push the recommendation toward the right products? If any answer has no mapping, fix it. An unmapped answer is a missed sale.
Mapping example
A question like "What's your main skin concern?" with the answer "Dryness" should map to your hydrating moisturizers collection. "Breakouts" maps to your acne-fighting range. "Anti-aging" maps to your retinol products. Every answer, every time.
Step 4 - Configure Recommendations
Focused recommendations drive purchases. Too many choices cause decision fatigue - customers leave without buying anything.
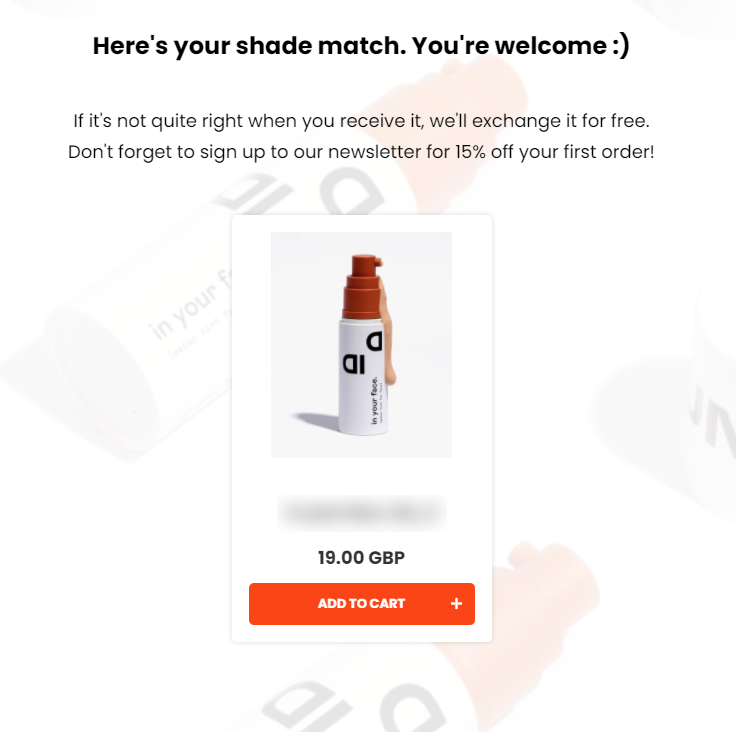
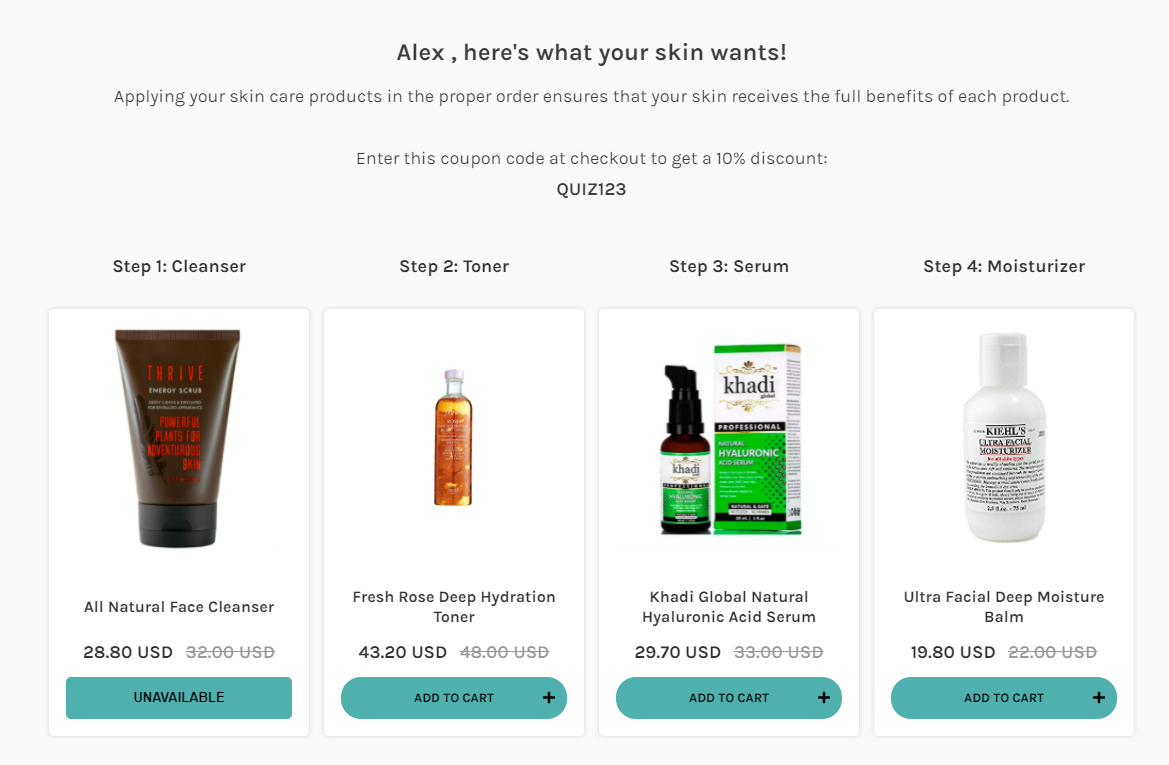
☐ Recommend 1-3 products maximum on your results page, or use slots for routines
☐ Use a single results page (79% of top-converting quizzes use exactly one)
Slots vs. single product
- Selling a single product category? Recommend 1 best match.
- Selling routines? Use recommendation slots - one product per slot (e.g., cleanser, serum, moisturizer). The customer knows exactly what to add to cart.
Example: Single product recommendation
☐ Optionally, pin a slot with fixed recommendations to always surface your best-sellers alongside dynamic results
Step 5 - Capture Leads and Set Up Follow-Up
The quiz is the top of your funnel. Capturing the email and following up is where the revenue multiplies.
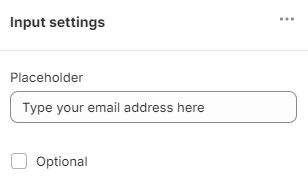
☐ Add an email question before the results page
Should you make the email required?
Yes - the data says so. Among top-converting quizzes that collect email, 75% make it required. This does not hurt completion rates - customers who reach the email step are engaged and willing to share their email for a personalized recommendation. Make it required.
How to set the email question as required
Open the email question settings and toggle Required on. See: Email question settings
☐ Enable result emails to automatically send recommendations to quiz takers
☐ Connect your quiz to Klaviyo (or your CRM of choice) and set up a post-quiz email flow
Why Klaviyo matters
Quizzes connected to Klaviyo convert 24% better and generate 66% more orders on average. Set up a flow that sends the first email within minutes of quiz completion, with recommended products and a discount code.
Other CRM integrations
RevenueHunt also integrates with Omnisend, Mailchimp, and custom Webhooks.
☐ Personalize follow-up emails with the customer's quiz answers and recommended products
Step 6 - Add a Discount Incentive
A discount gives customers a reason to act immediately after the quiz. It's simple, effective, and easy to set up.
☐ Mention the reward on your Welcome slide (e.g., "Complete the quiz and get 10% off your personalized routine")
☐ Add an automatic discount code that applies at checkout for quiz finishers (available on Shopify)
☐ If automatic codes aren't available on your platform, add the discount code as visible text on the results page
Example: Discount Code on Results Page
Step 7 - Publish Your Quiz
A great quiz that's hard to find won't convert. Put it where customers already are. The most successful quizzes are published in at least two locations.
☐ Add the quiz as an inline block on your homepage or a dedicated landing page
☐ Set up an automatic popup for first-time visitors
☐ Add a floating button so the quiz is always accessible while customers browse
☐ Add a link to the quiz in your navigation menu
Think of it like a store assistant
Just like a real shop assistant asks "Can I help you find something?", your quiz should proactively reach out to visitors. The more visible it is, the more it sells.
Full publishing guide
See all the ways to publish your quiz: How to Publish Your Quiz
Step 8 - Match Your Store's Look
The 💎Built for Shopify app automatically inherits your Shopify theme's base font and pulls in your brand colors - so the quiz already looks on-brand by default. This step is a quick polish, not a major investment.
☐ Review the quiz on desktop and mobile to confirm it looks clean and readable
☐ Adjust fonts, colors, or button styles if needed using the visual block editor
☐ Add a background image or icons that match your store's visual style
Don't skip steps 1-7 to get here faster
Design polish is worth doing - but only once the quiz content, product mapping, and email capture are working. A beautiful quiz with unmapped answers and no follow-up email will not convert. Get the foundation right first.
Step 9 (Optional) - Add Personalization and Logic
Most top-converting quizzes are fully linear - every customer sees the same questions. This is intentional: a well-mapped linear quiz consistently outperforms complex branching flows. Only add logic once your linear quiz is working.
☐ Use Skip Logic to hide questions that don't apply based on earlier answers (e.g., skip a "hair color" question if the customer selected "no hair color treatment")
☐ Use Jump Logic to branch into entirely different paths only when product lines are completely distinct (e.g., cat products vs. dog products)
☐ Use Display Logic on the results page to show different advice blocks to different customer segments - without complicating the question flow
☐ Enable Information Recalls to greet customers by name or reference their earlier answers on the results page
Step 10 (Optional) - Set Up for Multiple Markets
Only relevant if you sell internationally. Skip this step if you're operating a single-market store.
☐ Duplicate your quiz and translate it for each language using Quiz Copilot
☐ Assign each quiz to its Shopify Market in the Markets tab of the app
☐ Adjust product recommendations for region-specific inventory
☐ Test currency display and quiz flow in each market before going live
How to set up quizzes for multiple markets
See the video tutorial: Assign Quizzes to Shopify Markets and Languages
You're ready to launch
Work through steps 1-7 before going live. Steps 8-10 are improvements you can layer on once the quiz is running and converting. A simple, well-mapped quiz beats a complex, over-designed one every time.
Need help? Take the Support Quiz to reach our team directly.